Loading...
Loading


Search Here
Tags list
Share
How to Install TYPO3 v13 LTS Using Composer (Step-by-Step Guide)
TYPO3 v13 is the latest Long-Term Support (LTS) release of the TYPO3 Content Management System, built for modern PHP environments and long-term stability. It introduces improved performance, cleaner architecture, and better tooling support for professional developers and agencies.
Categories: DevOps
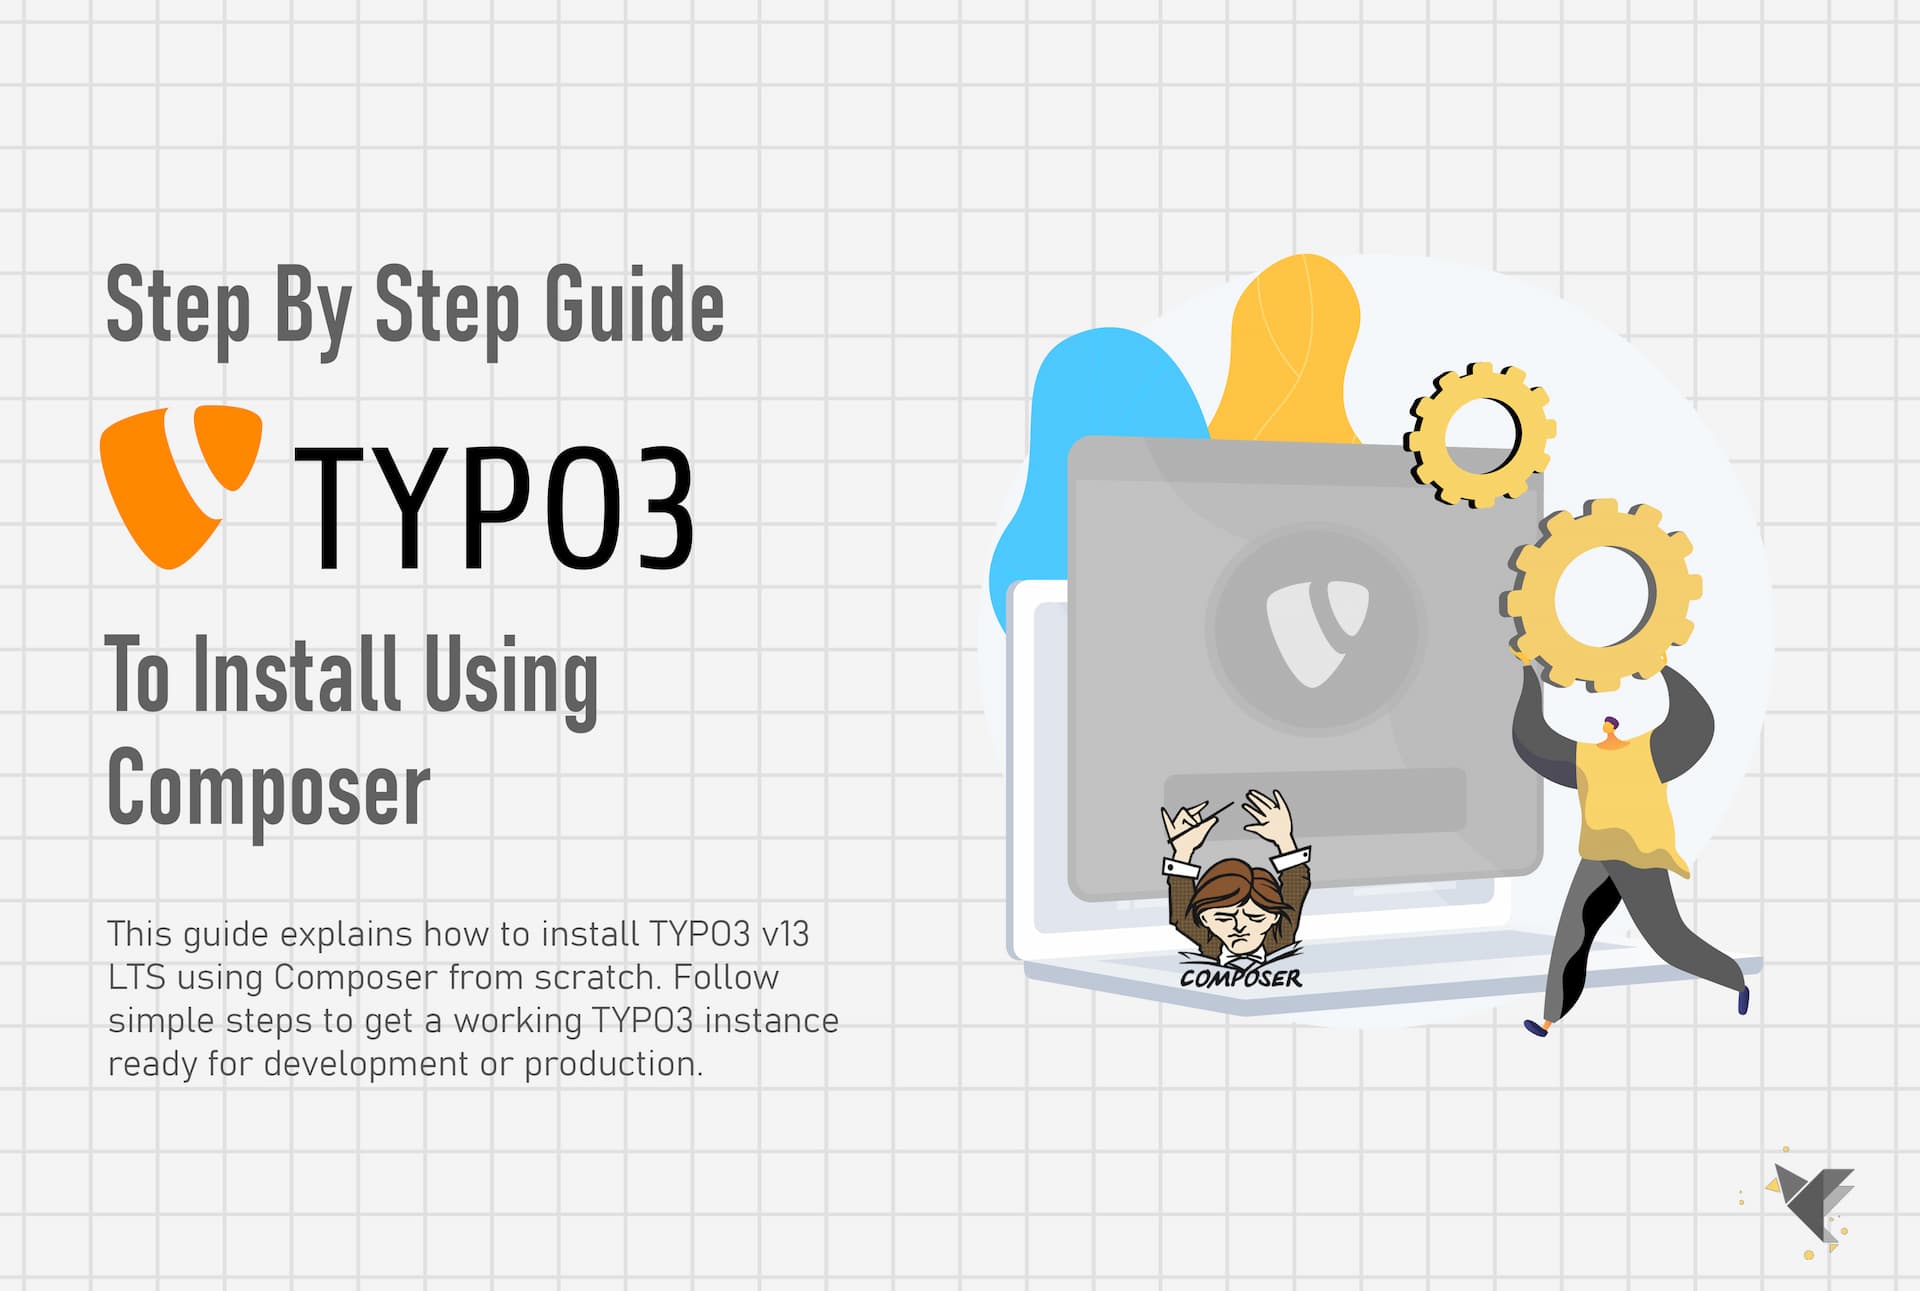
In this guide, you’ll learn how to install TYPO3 v13 using Composer, following best practices recommended for production-ready, version-controlled projects. This setup is ideal for freelancers, agencies, and DevOps-driven teams who want a repeatable and maintainable TYPO3 installation.
By the end of this tutorial, you’ll have a fully working TYPO3 v13 instance ready for development or deployment.
Why use Composer for TYPO3 v13?
Composer is the officially recommended installation method for TYPO3. It allows you to:
- Manage TYPO3 core and extensions as dependencies
- Keep core files separate from custom project code
- Easily update TYPO3 versions in the future
- Maintain a clean Git-friendly project structure
If you’re building professional TYPO3 projects, Composer is no longer optional—it’s the standard.
TYPO3 v13 system requirements
Before installing TYPO3 v13, make sure your system meets the official requirements.
Web server requirements
You can use Apache, Nginx, or any PHP-compatible web server.
The document root must point to the public/ directory of the TYPO3 project.
PHP requirements
TYPO3 v13 requires PHP 8.2 or newer with the following extensions enabled:
- mbstring
- json
- xml
- intl
- pdo
- mysqli or pdo_mysql
- fileinfo
- curl
Database requirements
TYPO3 v13 supports multiple database engines:
- MySQL 8.0.17 or newer
- MariaDB 10.4.3 or newer
- PostgreSQL 10 or newer
- SQLite 3.8.3 or newer
For professional workflows, it’s recommended to install Composer 2.1+ globally and use Git for version control.
Step 1: Install and verify Composer
Composer is required to install and manage TYPO3 dependencies.
On most Linux systems (such as Ubuntu), install the necessary tools first:
- PHP CLI
- curl
- Git
Download the Composer installer from getcomposer.org and move the Composer binary to /usr/local/bin so it’s available globally.
To verify the installation, run:
composer -V
If a version number appears, Composer is installed correctly.
Tip: If you’re using Docker or DDEV, Composer is usually preinstalled inside the container, so no host setup is needed.
Step 2: Create a new TYPO3 v13 project with Composer
Now you can create a fresh TYPO3 v13 project.
Navigate to your desired project directory, for example:
cd /var/www
Run the following command:
composer create-project typo3/cms-base-distribution:^13.4 your-project-name
Composer will download the TYPO3 core, required libraries, and generate a modern project structure.
Key points about the Composer setup
- The public/ directory is the only web-accessible folder
- Core and vendor files are stored outside the web root
- Custom extensions and configuration remain cleanly separated
This structure makes TYPO3 easier to maintain, update, and deploy.
Step 3: Point the web server to the public directory
TYPO3 will not work correctly unless your web server is configured properly.
Apache configuration
Set the DocumentRoot to:
/var/www/your-project-name/public
Ensure that URL rewriting is enabled so TYPO3 routing functions correctly.
Nginx configuration
Set the root directive to:
root /var/www/your-project-name/public;
Configure PHP handling via PHP-FPM according to your server setup.
After updating the configuration, reload or restart the web server and verify that your domain points to the TYPO3 project.
Step 4: Launch the TYPO3 Install Tool
TYPO3 uses an installer wizard for the initial setup.
Inside your project directory, create a marker file:
public/FIRST_INSTALL
Now open your website in a browser or visit:
/typo3/install.php
The TYPO3 Install Tool will start automatically.
During this process, TYPO3 checks:
- PHP version and extensions
- File permissions
- Database connectivity
If anything is missing, TYPO3 provides clear instructions on how to fix it.
Step 5: Configure database, admin user, and site details
The installer guides you through the remaining setup steps:
- Database configuration
- Select an existing empty database or create a new one
- Choose MySQL, MariaDB, PostgreSQL, or SQLite
- Administrator account
- Define backend username and password
- This account also controls Install Tool access
- Basic site setup
- Set a site name
- Optionally create a basic empty site
Once completed, TYPO3 finalises the configuration automatically.
Step 6: Log in to the TYPO3 backend
After installation, you can immediately access the TYPO3 backend.
Open:
https://your-domain.tld/typo3
Log in using the administrator credentials you created during setup.
From the backend, you can now:
- Install extensions
- Configure languages and routing
- Create pages and content
- Build templates or install a site package
At this point, your TYPO3 v13 LTS installation is complete and ready for development.
Final thoughts
Installing TYPO3 v13 with Composer provides a clean, scalable, and future-proof foundation for professional projects. This approach aligns with modern PHP workflows and makes updates, deployments, and collaboration significantly easier.
Whether you’re building a client website, an enterprise platform, or a headless TYPO3 solution, this setup gives you a solid starting point.
Tag Here:
DevOps, PHP 8.2, TYPO3, TYPO3 Backend, TYPO3 Installation, TYPO3 Composer, TYPO3 v13 LTS, TYPO3 CMS, TYPO3 Best Practices, Web Development


Back